Quickstart
Project to deployed, authenticated function in one sitting.
This walkthrough goes from nothing to a deployed, authenticated PHP endpoint backed by live data.
1. Create a project
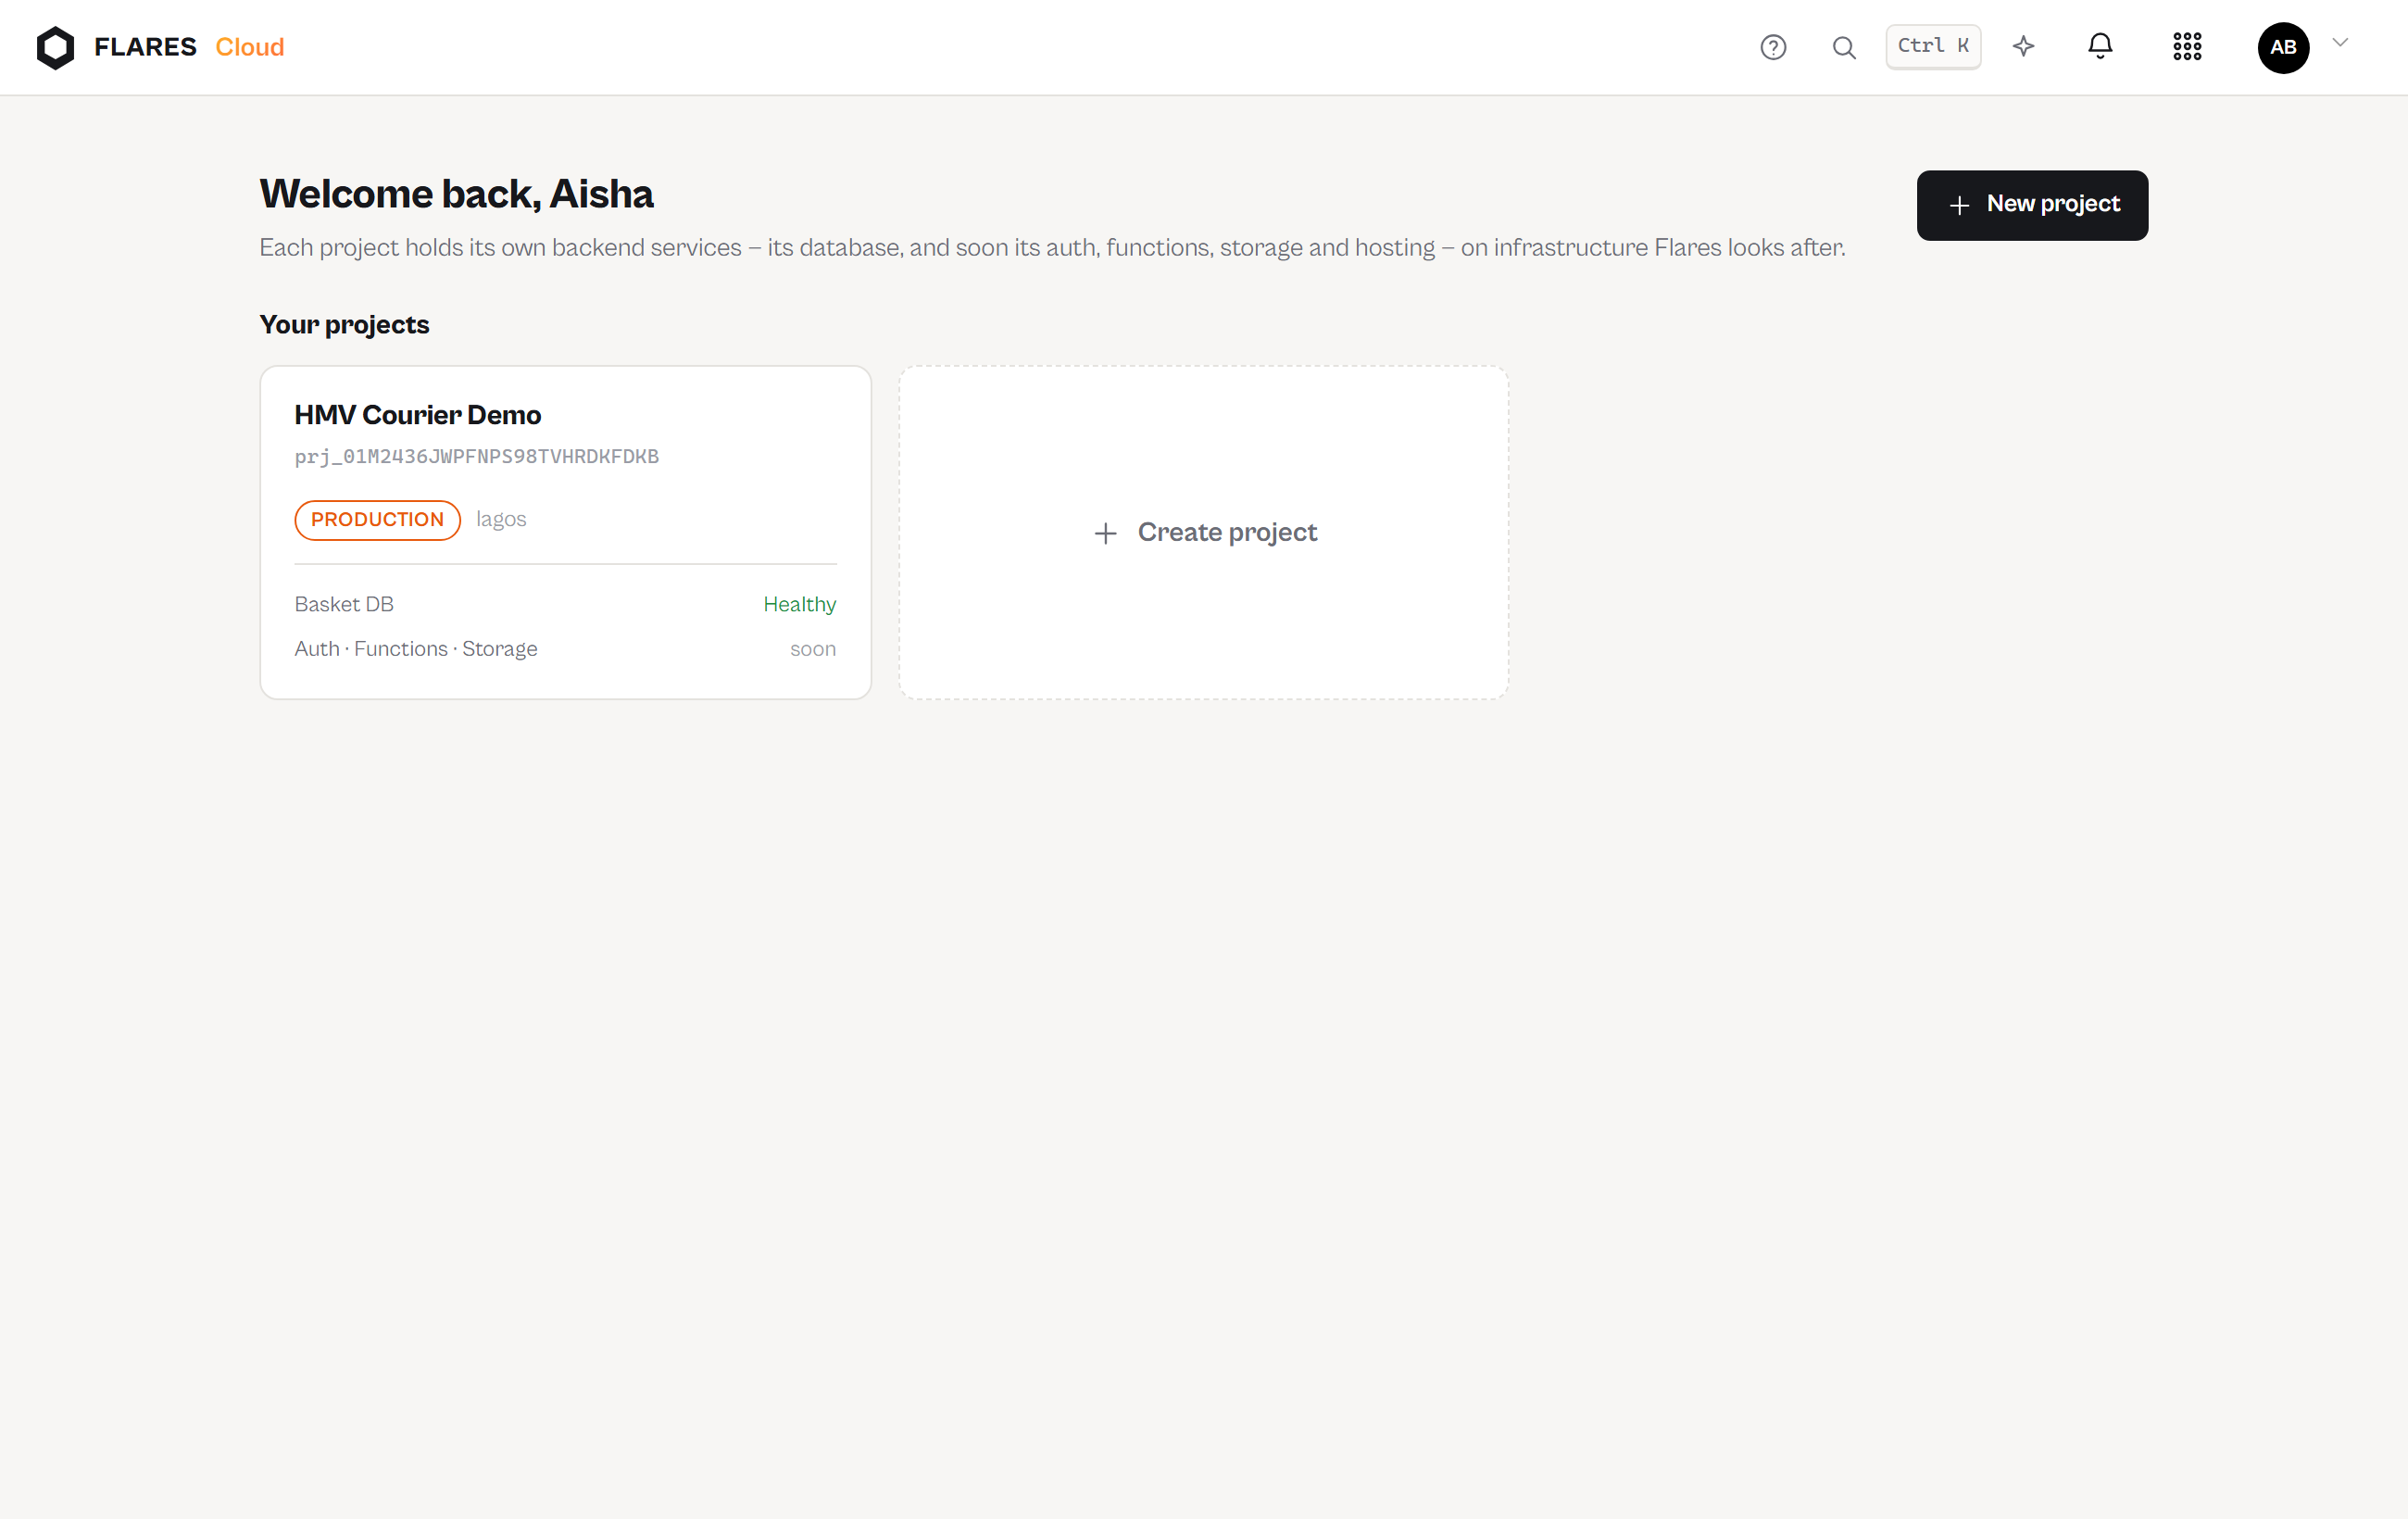
Open the console and create a project — pick a name and an environment. Provisioning creates an isolated database on Fareedah; the overview shows each service's honest state while it happens.
2. Create your API keys
In your project open API keys. Create a public key (for browsers and apps) and a secret key (for backends). Each is shown once — copy it then; Flares stores only a hash. More on keys.
3. Store data in Basket DB
Create a collection in the console, or from a backend with the secret key:
curl -X POST \
  -H 'Authorization: Bearer YOUR_SECRET_KEY' \
  -d 'name=messages' \
  -d 'fields={"body":{"type":"text","required":true},"sender_id":{"type":"text","required":true}}' \
  https://cloud.flaresinc.com/v1/projects/YOUR_PROJECT_ID/collections
4. Enable Auth and sign a user up
Open Auth in your project and enable it. Then, from your app with the public key:
const res = await fetch('https://cloud.flaresinc.com/v1/projects/YOUR_PROJECT_ID/auth/signup', {
  method: 'POST',
  headers: { 'Authorization': 'Bearer YOUR_PUBLIC_KEY', 'Content-Type': 'application/json' },
  body: JSON.stringify({ email: 'aisha@example.com', password: 'a-strong-passphrase' })
});
const session = await res.json();
// session.user, session.access_token, session.refresh_token
The full Auth quickstart covers verification, reset and sign-out.
5. Secure the data with a rule
In Basket DB → Rules, allow create on messages when
sender_id == auth.user.id. Send the access token with Basket requests as
X-Basket-User-Token and each user can write only their own messages.
How the integration works.
6. Deploy a function
Open Functions → Create function and deploy this as hello:
<?php

use Flares\Functions\Request;
use Flares\Functions\Response;

return function (Request $request): Response {
    return Response::json(['hello' => $request->query('name', 'world')]);
};
The moment the deployment is Ready it answers at:
curl https://cloud.flaresinc.com/run/YOUR_PROJECT_ID/hello?name=flaresEach dispatched call is one billable request — and nothing else is billed. Protect it with Auth in one setting: protected functions.