Functions quickstart
Write a handler, deploy it, call it — five minutes.
1. Create the function
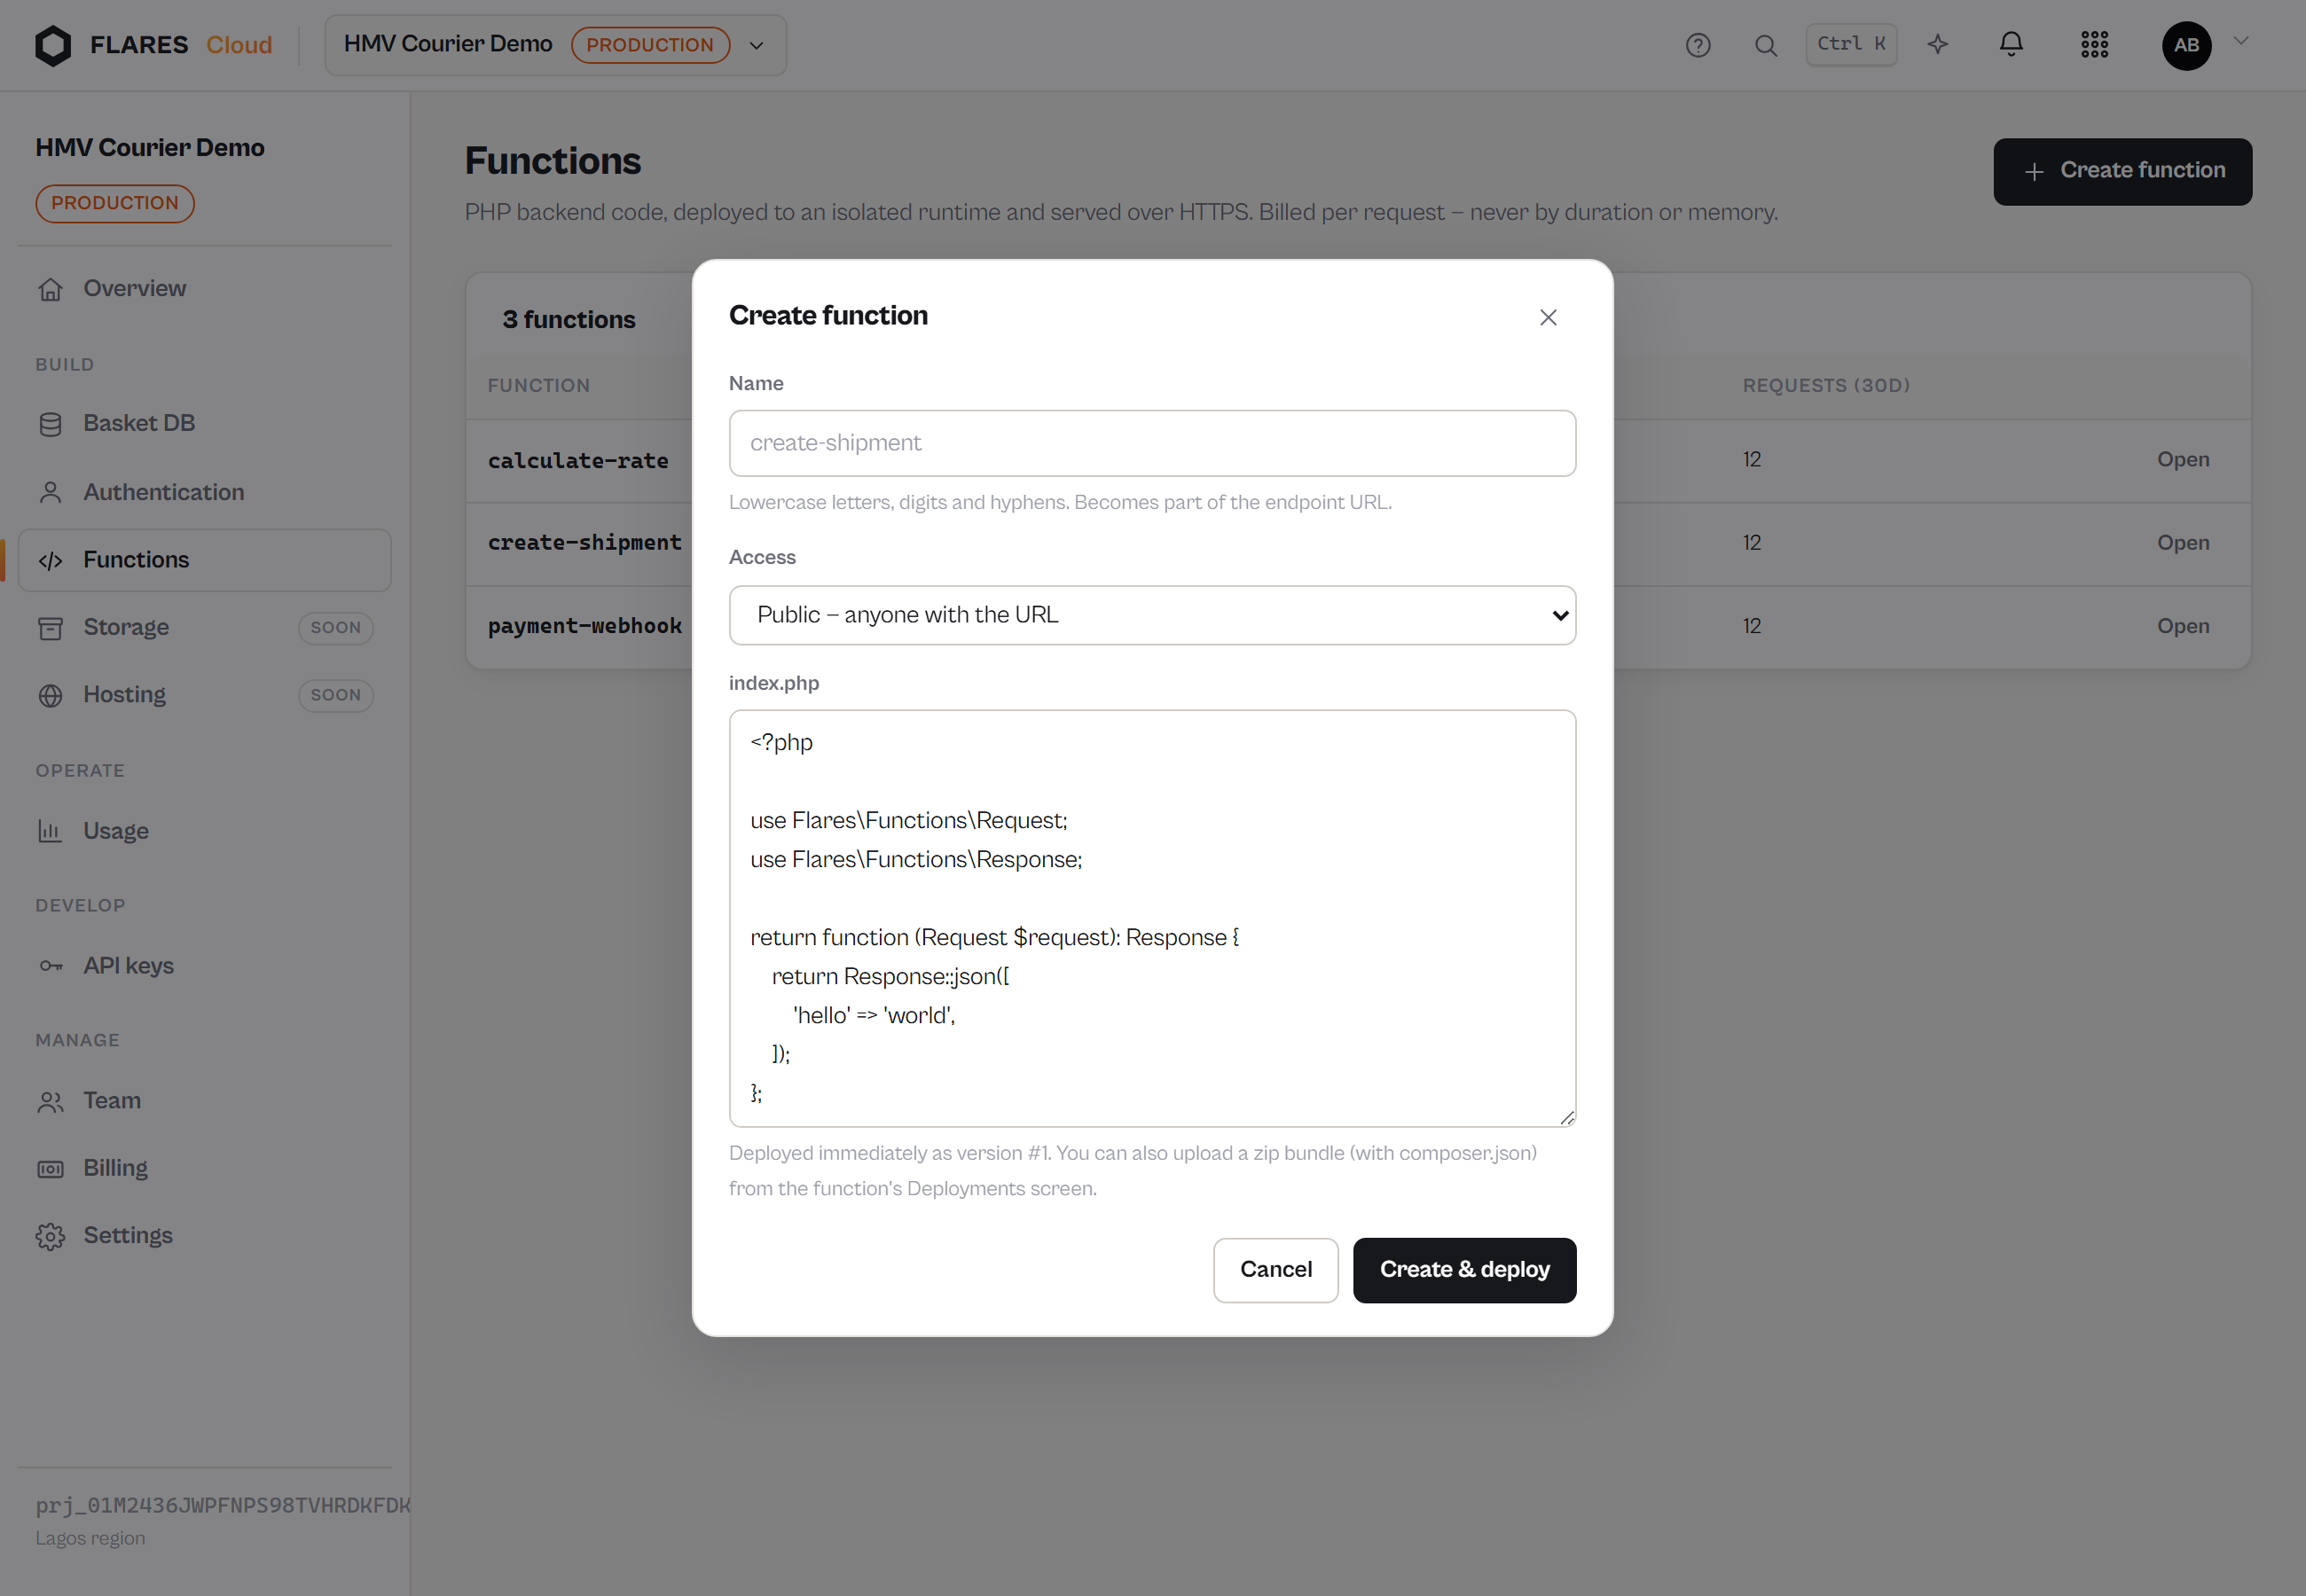
In your project open Functions → Create function. Give it a name — lowercase letters, digits and hyphens; it becomes part of the URL — and choose whether it is public or requires Flares Auth.
2. Write the handler
The dialog is pre-filled with a working starter. This is the whole contract:
<?php

use Flares\Functions\Request;
use Flares\Functions\Response;

return function (Request $request): Response {
    return Response::json([
        'hello' => $request->query('name', 'world'),
    ]);
};
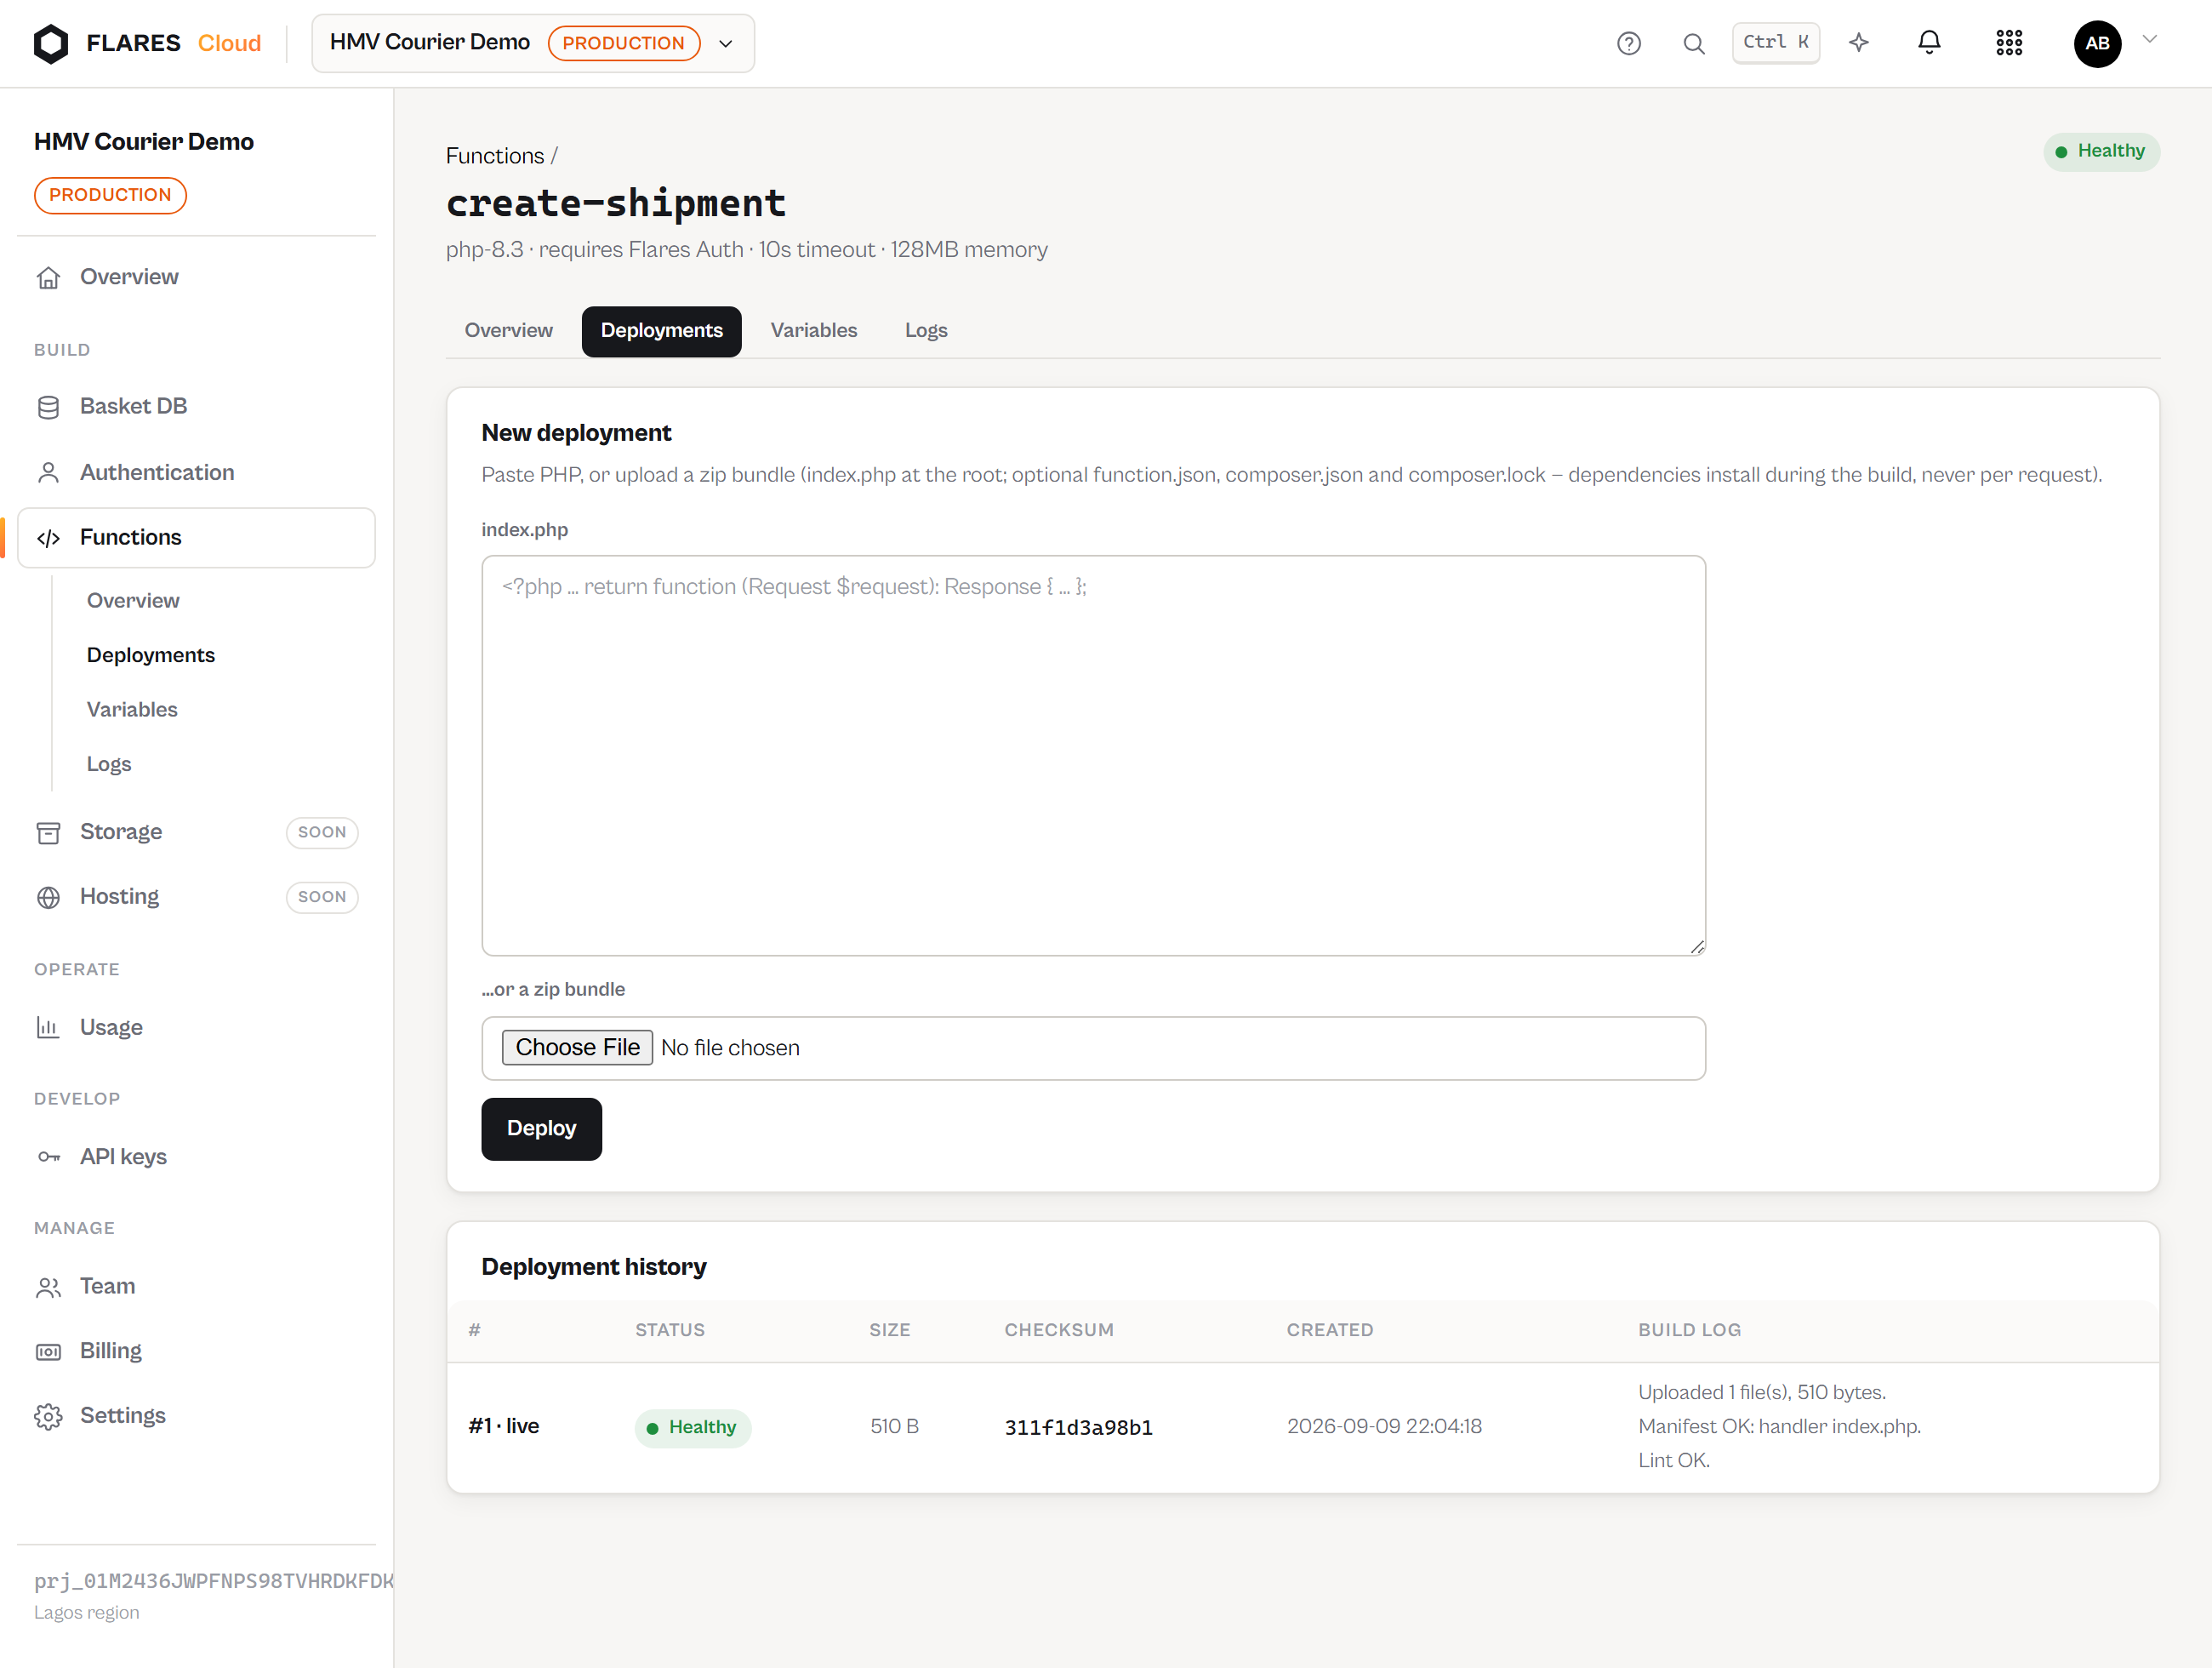
3. Deploy
Pressing Create & deploy runs the real pipeline: upload → build (manifest check, PHP lint, Composer if you declared dependencies) → deploy → Ready. If anything fails the deployment is marked failed with the build log saying why, and nothing goes live.
4. Call it
curl 'https://cloud.flaresinc.com/run/YOUR_PROJECT_ID/hello?name=flares'
# {"hello":"flares"}
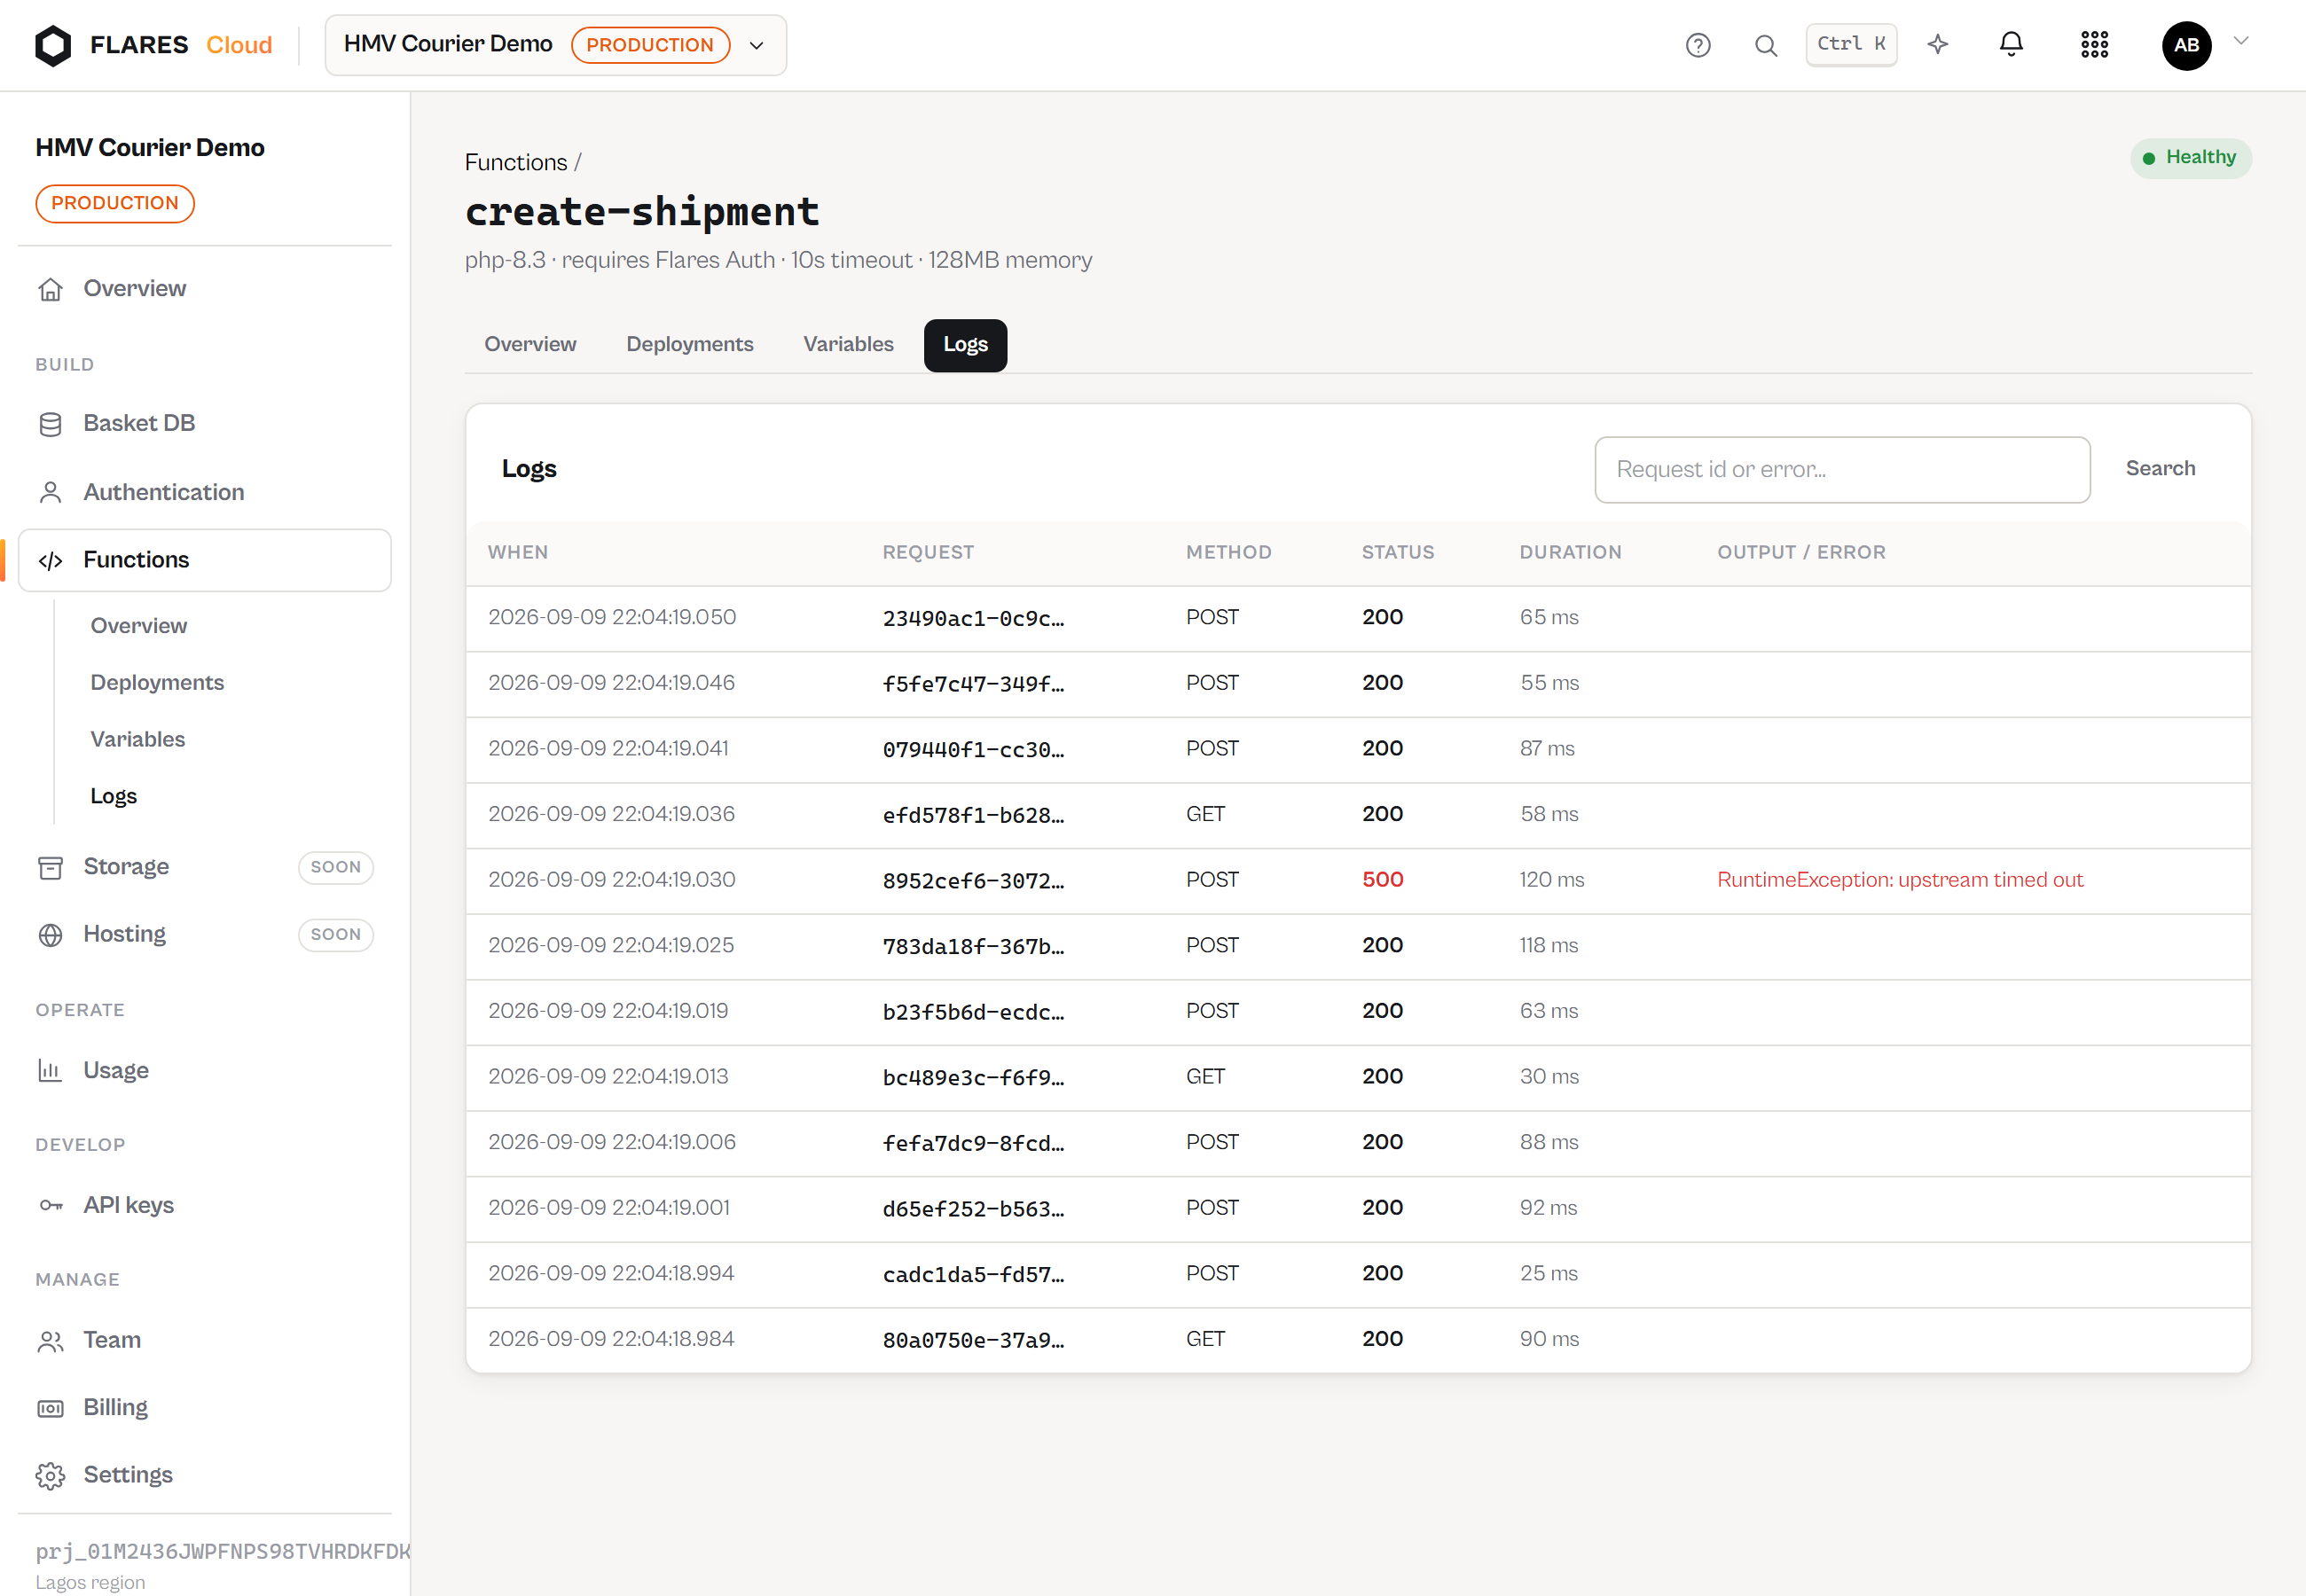
Every response carries X-Flares-Request-Id — the same id the logs are searchable by.
5. Watch it
Logs shows each invocation: request id, method, status, duration and anything your code printed. Overview shows request and error counts and p50/p95/p99 latency measured from real samples.
6. Change it
Deploy again from Deployments — inline or as a zip bundle. Each successful deployment is an immutable version; Roll back to this repoints the endpoint at an older one without re-uploading anything. Deployments and rollback →